- 9Shares
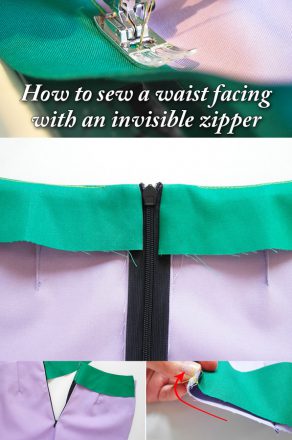
There are many ways to sew a [itg-glossary glossary-id=”322″]facing[/itg-glossary] to a skirt, but ever since Ania showed me this method, I’m not using any other. So I hope you will love it as well 🙂
* The edges of the pieces should be secured from fraying, and the facings stabilized with interfacing – in this tutorial however I skipped these steps, so that the sewing technique was better visible.
Attaching the waist facing
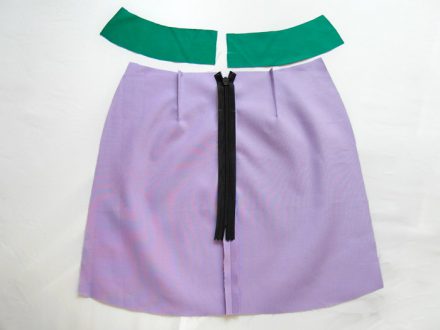
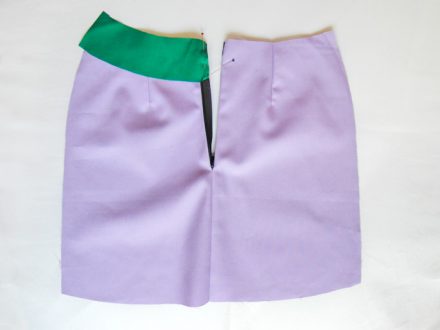
1. Prepare the back of the skirt and the facings. This technique can be used regardless of whether you’ve already sewn the sides of the skirt or not.
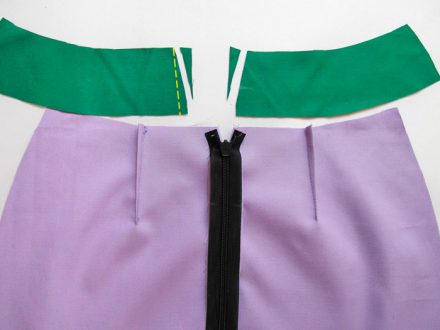
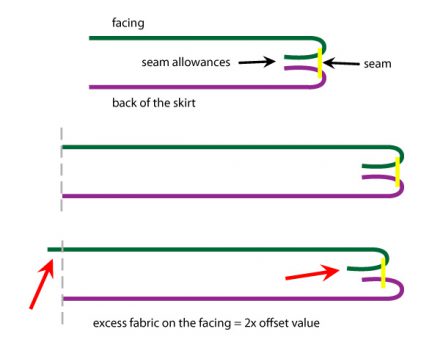
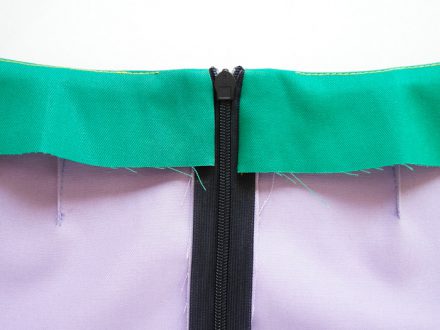
2. Trim the facings (on the center edges) – from the top trim the whole seam allowance, and grade it down toward the bottom of the facing. If you would like to reduce the width of the seam allowance (to avoid sewing the facing so close to the zipper’s teeth) you need to trim also the bottom of the seam allowance. Reducing the seam allowance width by half, you actually need to cut off the whole seam allowance – the offset value is multiplied by two. The illustration below shows this dependency.
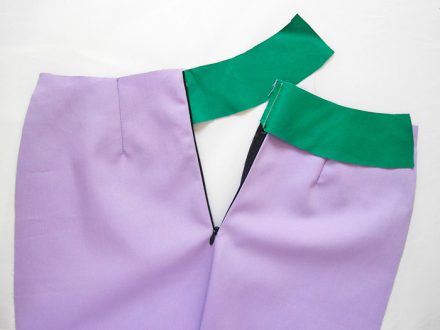
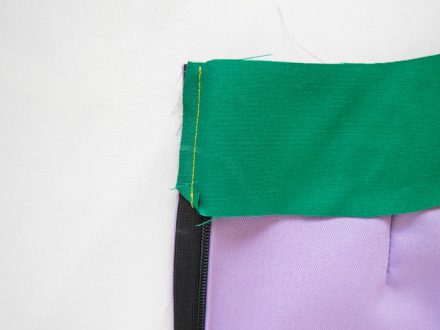
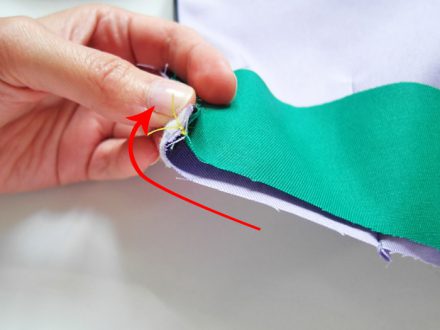
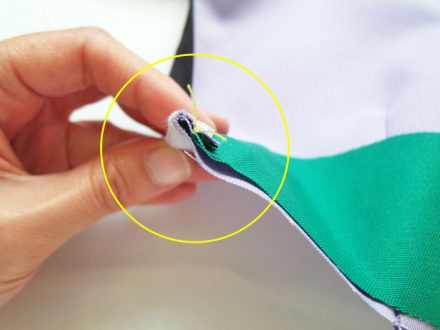
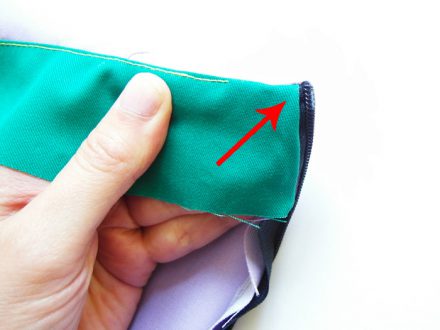
3. Place the facing to the back of the skirt (right sides together) and pin it along the zipper. Fold the bottom corner of the facing, so that it won’t stick out after turning the facing to the right side. Make a vertical stitching along the zipper. Repeat with the second facing on the other side of the zipper.
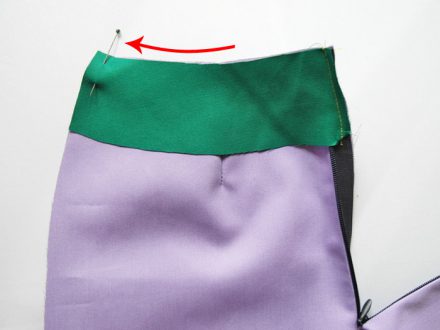
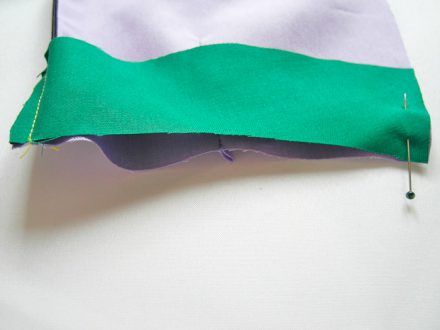
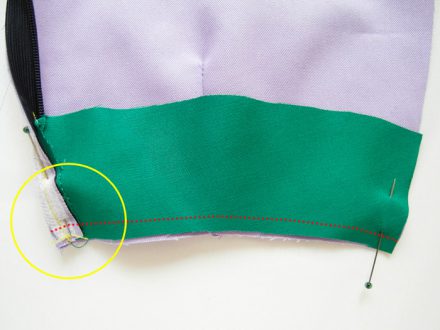
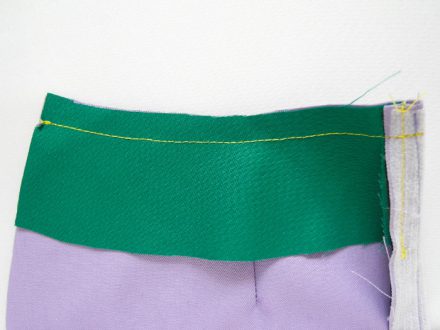
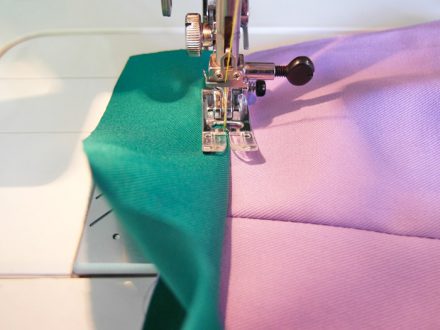
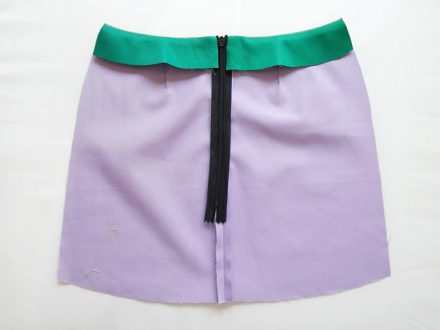
4. Pull the facing to the side and pin it (again the right sides of the pieces are inside). Fold the seam allowances toward the facing and sew the pieces along the waistline.
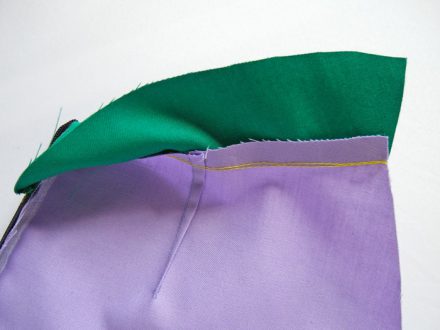
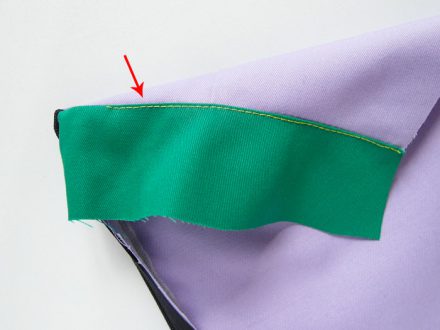
5. Understitch – make an auxiliary seam close to the joining line, sewing only the seam allowances and the facing. This will help you press the waist line of the skirt nicely.
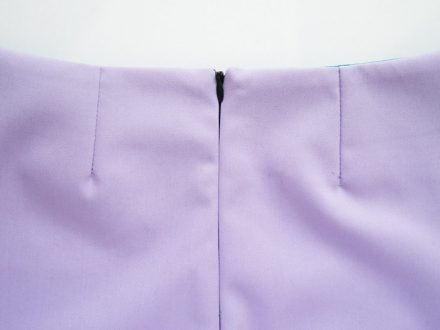
6. Push out the tips of the zipper and you’re done..
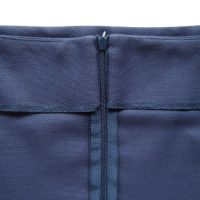
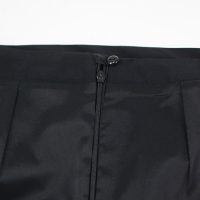
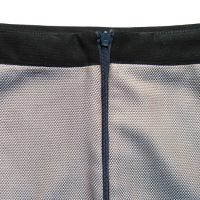
And this is how this method looks like in finished garments:
This technique has one more huge advantage – beside the nice appearance of course. You don’t need to trim the corners – which will definitely come in handy when the zipper needs to be replaced.
Did you know this technique before? And if not, do you plan to try it on?
- 9Shares







IDK why Ive done this before, and could not remember how to do it. I’ still slightly confused as to whether my zipper should be sewn already before I do the waistband or not.
That depends on a waistband type and your preferences 🙂 With straight waistbands the zipper is usually sewn first, with contoured waistbands the waistband is sewn first.